SENN Install and Initial Setup
Steps to run SENN on your own PC and create your first ticket. Data is stored only on your PC.
The first start takes a few minutes (downloading images, depending on your connection); the rest takes about 5 minutes.
SENN is in Public Beta. It is usable, but bugs and missing features remain, and behavior may change between updates. Back up your data before updating: a database upgraded to a newer version cannot be used with an older version again. Older releases stay available as tags (e.g. v0.1.1, the last release before the access-control redesign).
Prerequisites
- Docker
Install Docker Desktop, OrbStack, or similar, and make sure it's running. - git
git --versionshould work in your terminal. - Port 8151
Make sure no other app is using this port.
What's a terminal? On a Mac, open "Terminal". On Windows, open "WSL2" (e.g. Ubuntu). Paste the commands below there and press Enter to run them.
-
1
Start SENN
Paste these five lines into your terminal, in order (pasting them all at once is fine too).
git clone https://github.com/macplanning-labs/senn.git cd senn cp .env.example .env sed -i.bak "s|^DB_PASSWORD=.*|DB_PASSWORD=$(openssl rand -hex 24)|; s|^JWT_SECRET_KEY=.*|JWT_SECRET_KEY=$(openssl rand -base64 48 | tr -d '\n')|" .env && rm .env.bak docker compose up- Line 3 creates the config file (
.env). - Line 4 fills in the database password and the login signing key with random values automatically (you don't need to decide these yourself).
- Line 5 starts everything. The first run downloads the pre-built images, which takes a few minutes (depending on your connection).
This does not write anything to your system settings.
When it's done, the terminal shows a line like this and stays in a waiting state.
senn-oss-backend | … server listening on 0.0.0.0:8151Don't close this terminal. Closing it stops SENN (see how to stop it properly).
If
sedoropensslaren't available (e.g. plain Windows)After line 3, open
.envin a text editor and set these two values, then save:DB_PASSWORD=— a string of letters and digits only (24+ characters, for example)JWT_SECRET_KEY=— a string of 32+ characters
Then run line 5,
docker compose up. If either value is left empty, it stops with an error message before starting.Building from source
Run
docker compose up --buildinstead of line 5 to build the images from the source code instead of downloading pre-built ones. The first build takes about 10–15 minutes (depending on your CPU and network). This also works when downloading images is slow or not possible. - Line 3 creates the config file (
-
2
Open in a browser
Once it's started, type this into your browser's address bar.
http://localhost:8151If you see a login screen like this, the install succeeded.
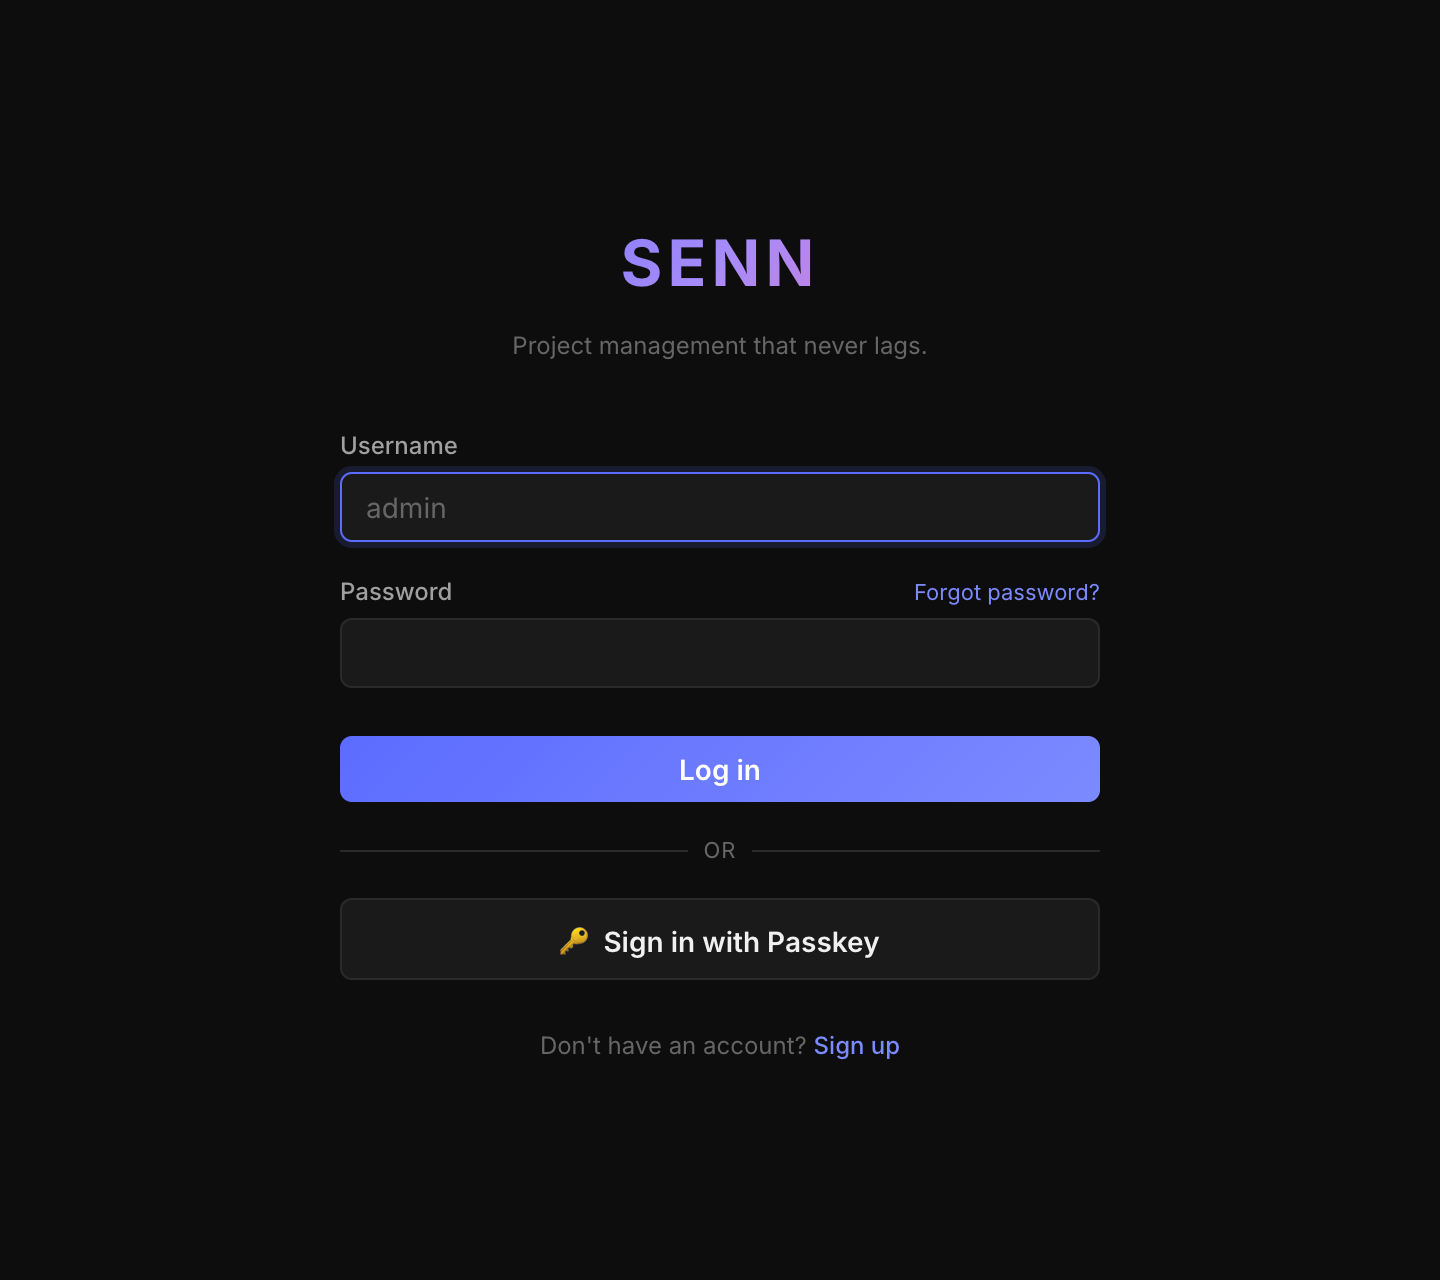
Login screen (you don't have an account yet) -
3
Sign up
Click Sign up at the bottom of the login screen. On the screen that appears, fill in these three fields and click Sign up.
- Username — any name you like (must not already be taken)
- Email — a working email address (e.g.
you@example.com) - Password — 8+ characters
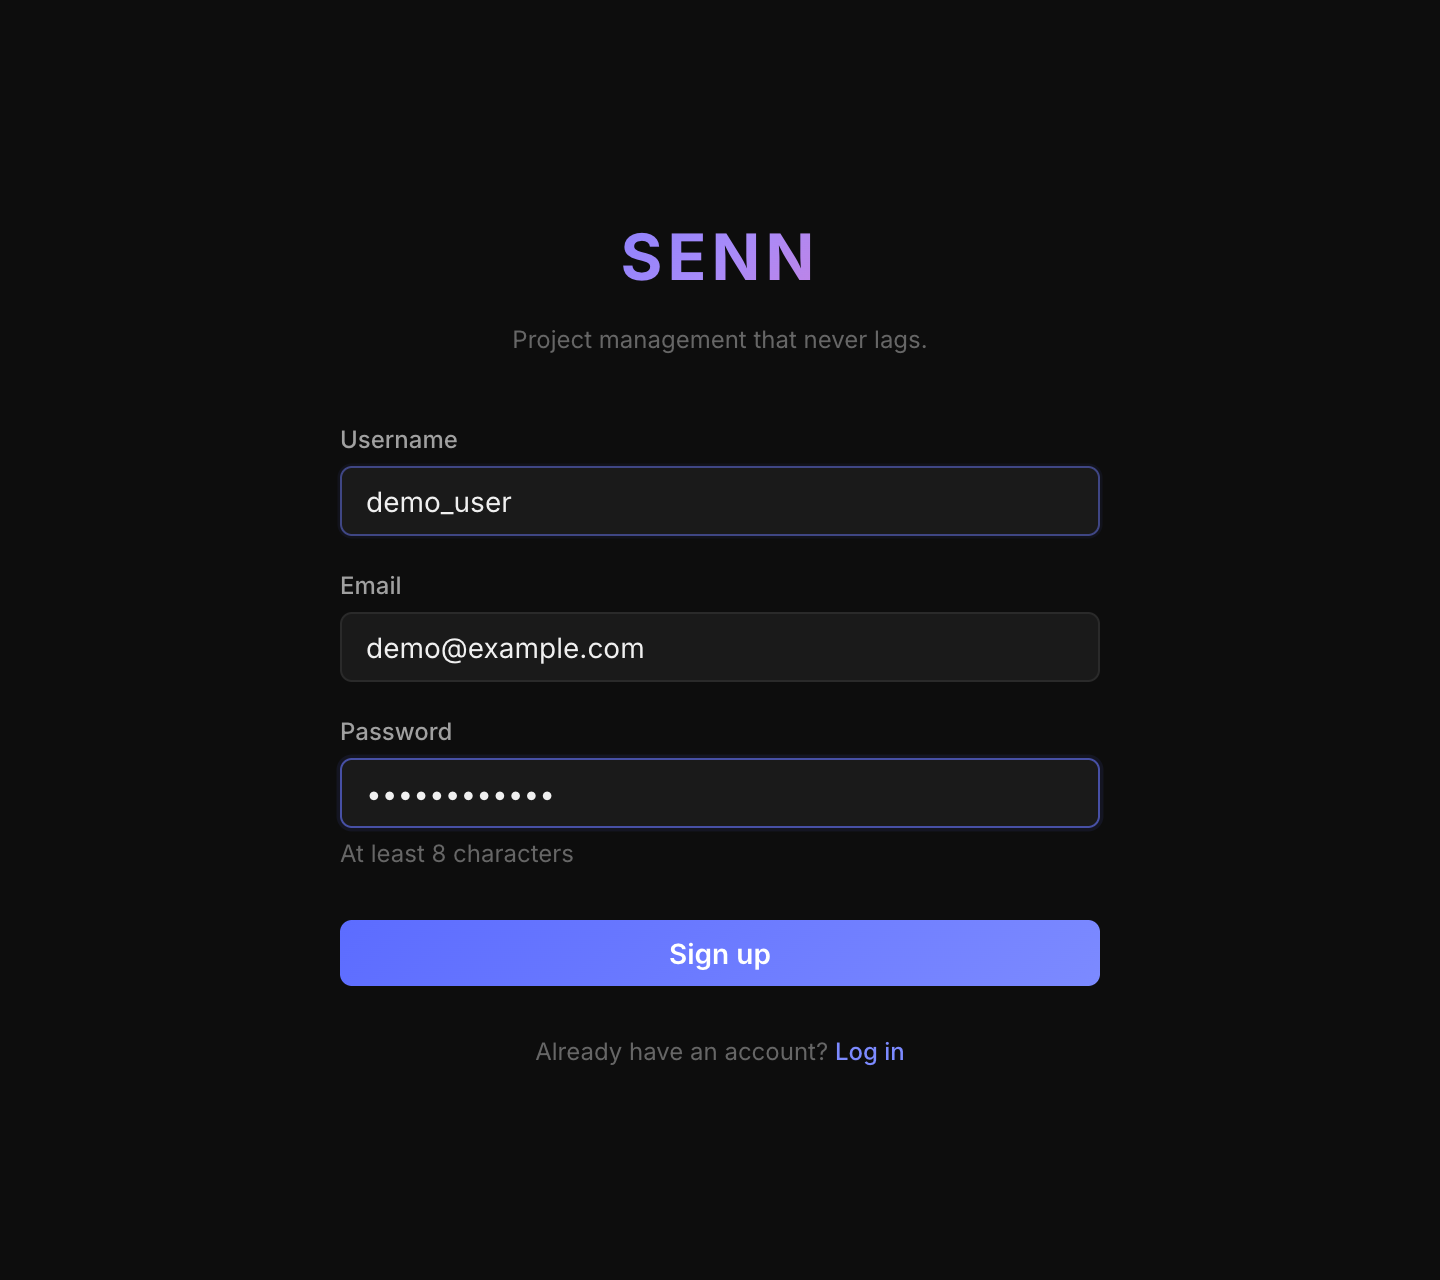
Sign-up screen (example values). All three are required Only the first person (who set up SENN) can sign up freely. Everyone after that joins by invitation (Step 7).
Your email is used for things like ticket-due-date notifications, if you set up email sending. Everything you enter is stored only in the database on your own PC.
Once signed up, you're logged in automatically and land on the main screen.
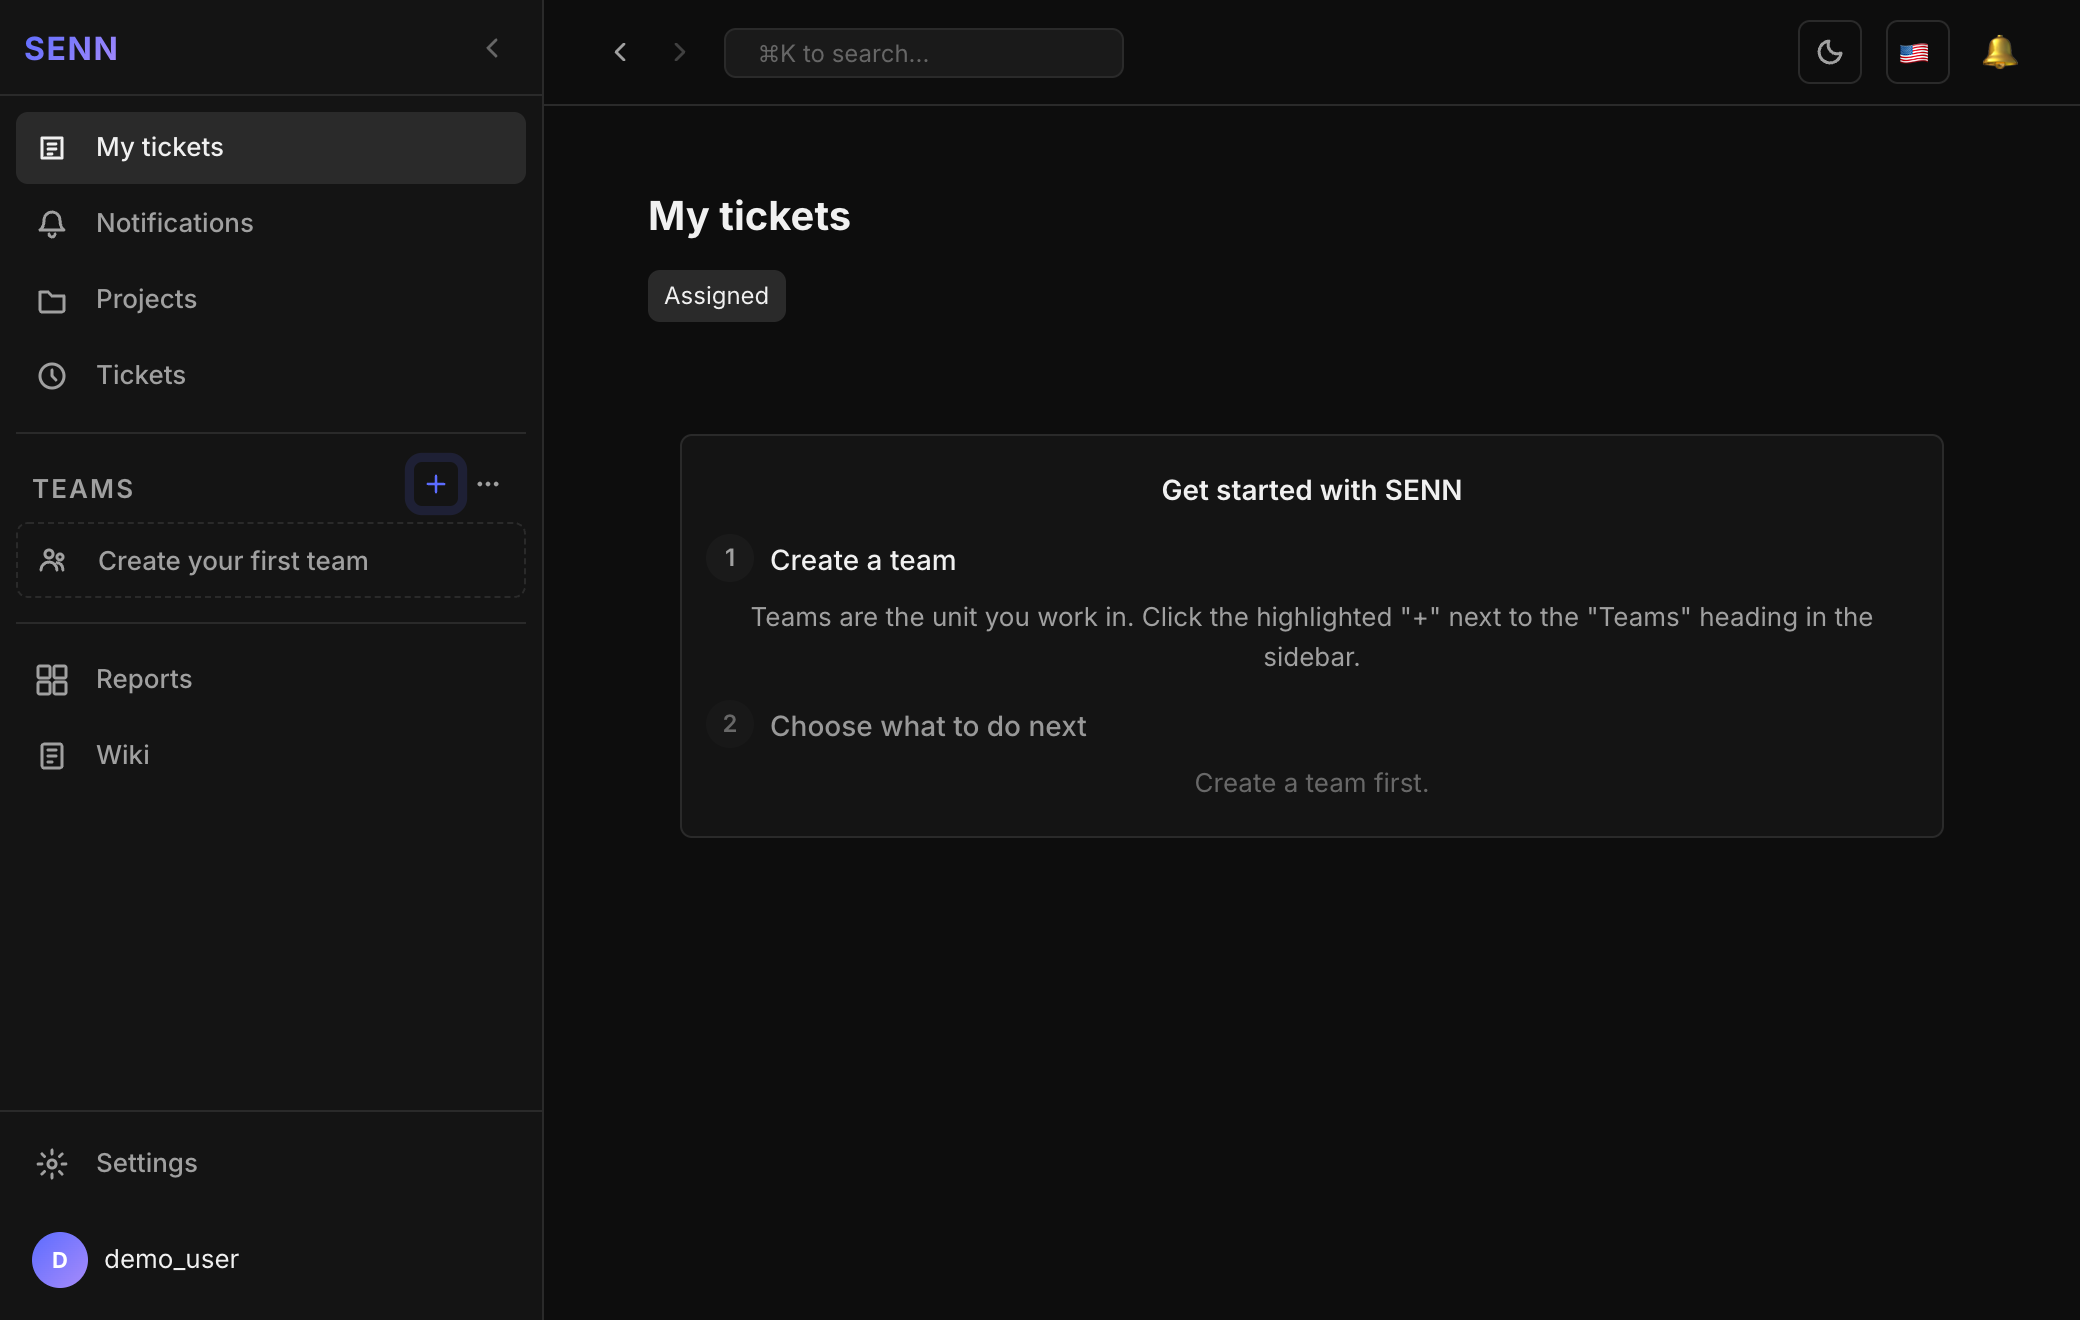
Main screen, with a "Get started with SENN" panel -
4
Create a team
In SENN, you need a team before you can create tickets (tasks, issues, QA items, etc.). Click the + next to "Teams" in the left sidebar.
Enter a team name (e.g. Sample Team) and click Create. Team prefix is the letters that go at the start of ticket keys (e.g.
SMP→ SMP-000001). If left blank, it is made from the letters and digits in the team name (TEAMif the name has none). Icon, color, visibility (Public / Private), description, and notification webhook are optional and can be changed later.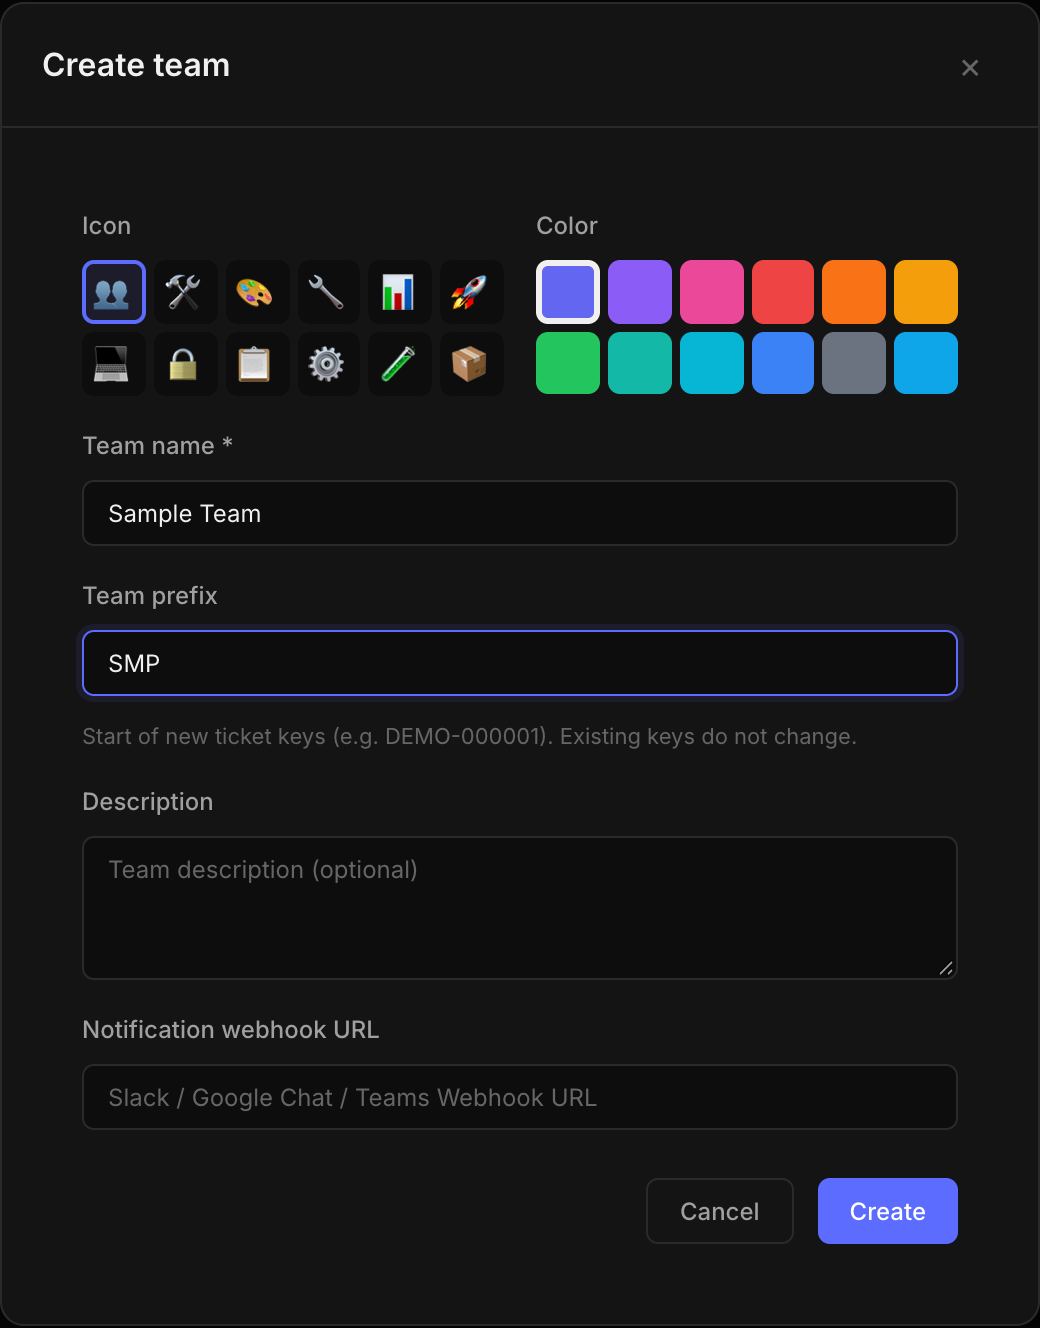
Create team — only the team name is required Once created, the team appears in the sidebar, and you can choose your next step, such as "Create a ticket".
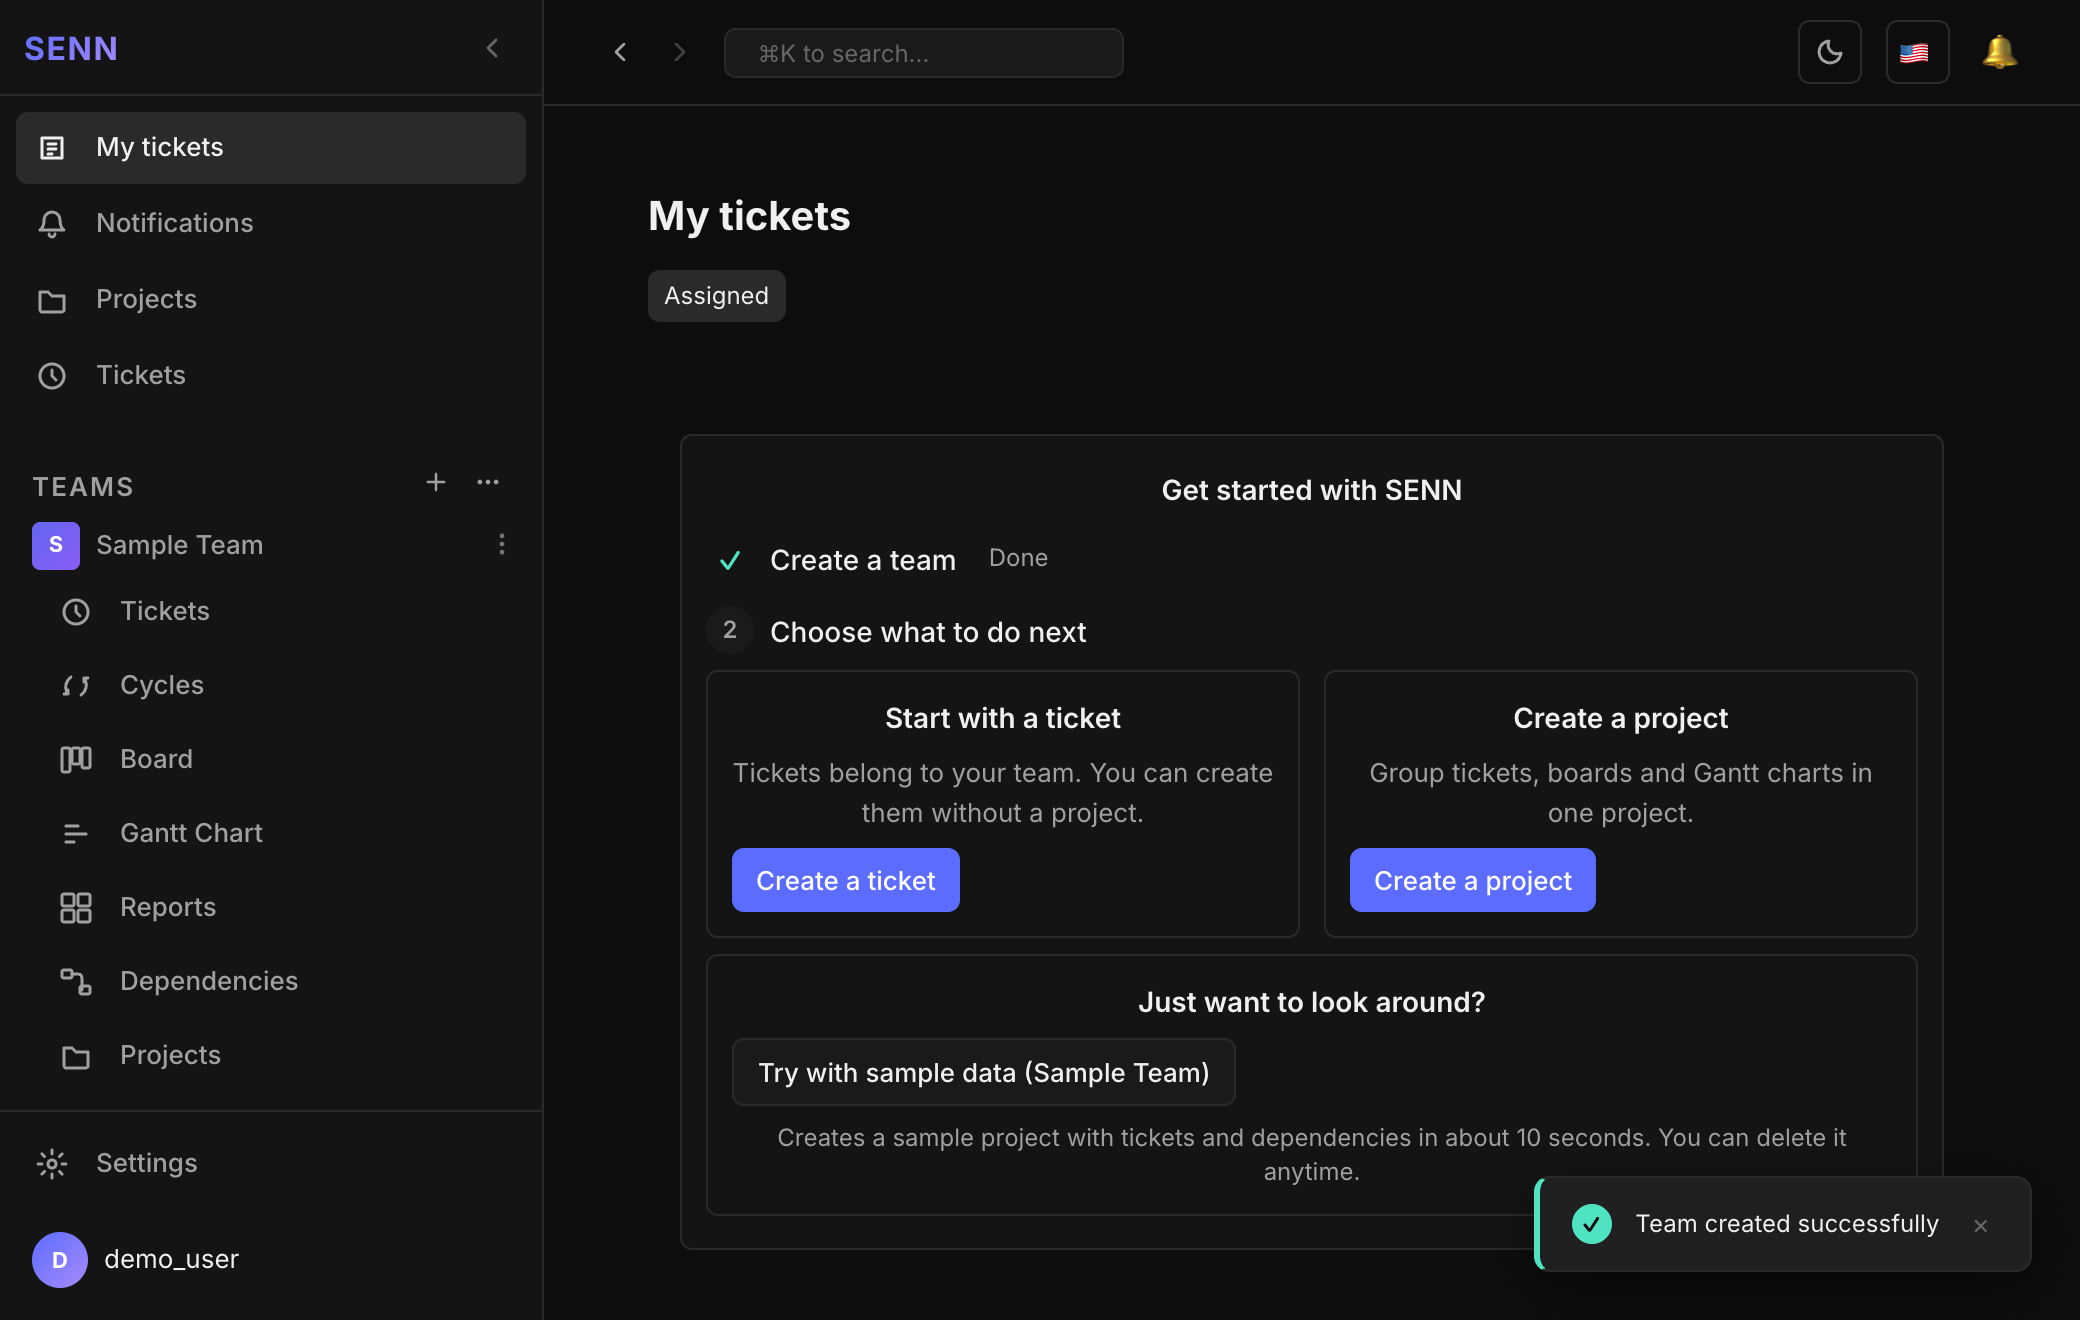
Your team is ready -
5
Create a ticket
Click Create a ticket and type a title. The Team field already has the team you just created selected. Click Create Ticket.
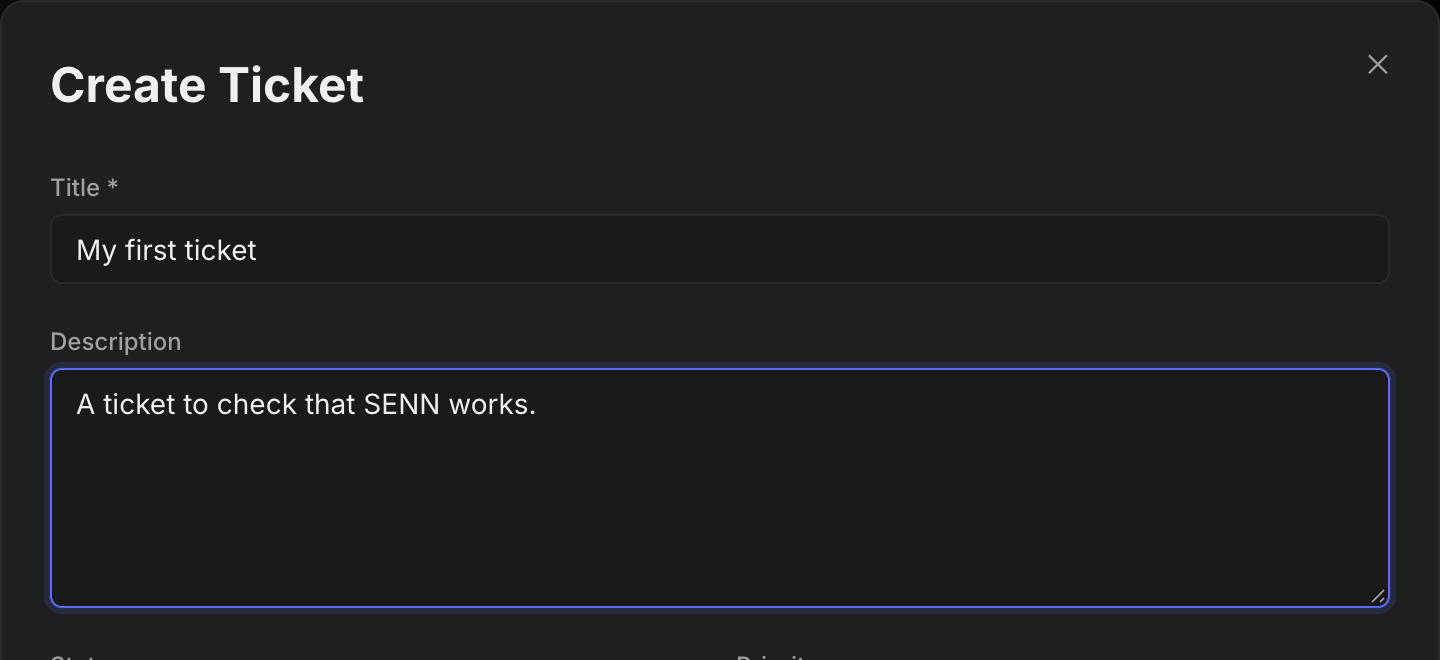
Create ticket (top part) — only the title is required Scroll down and you'll find the Team field and the Create Ticket button.
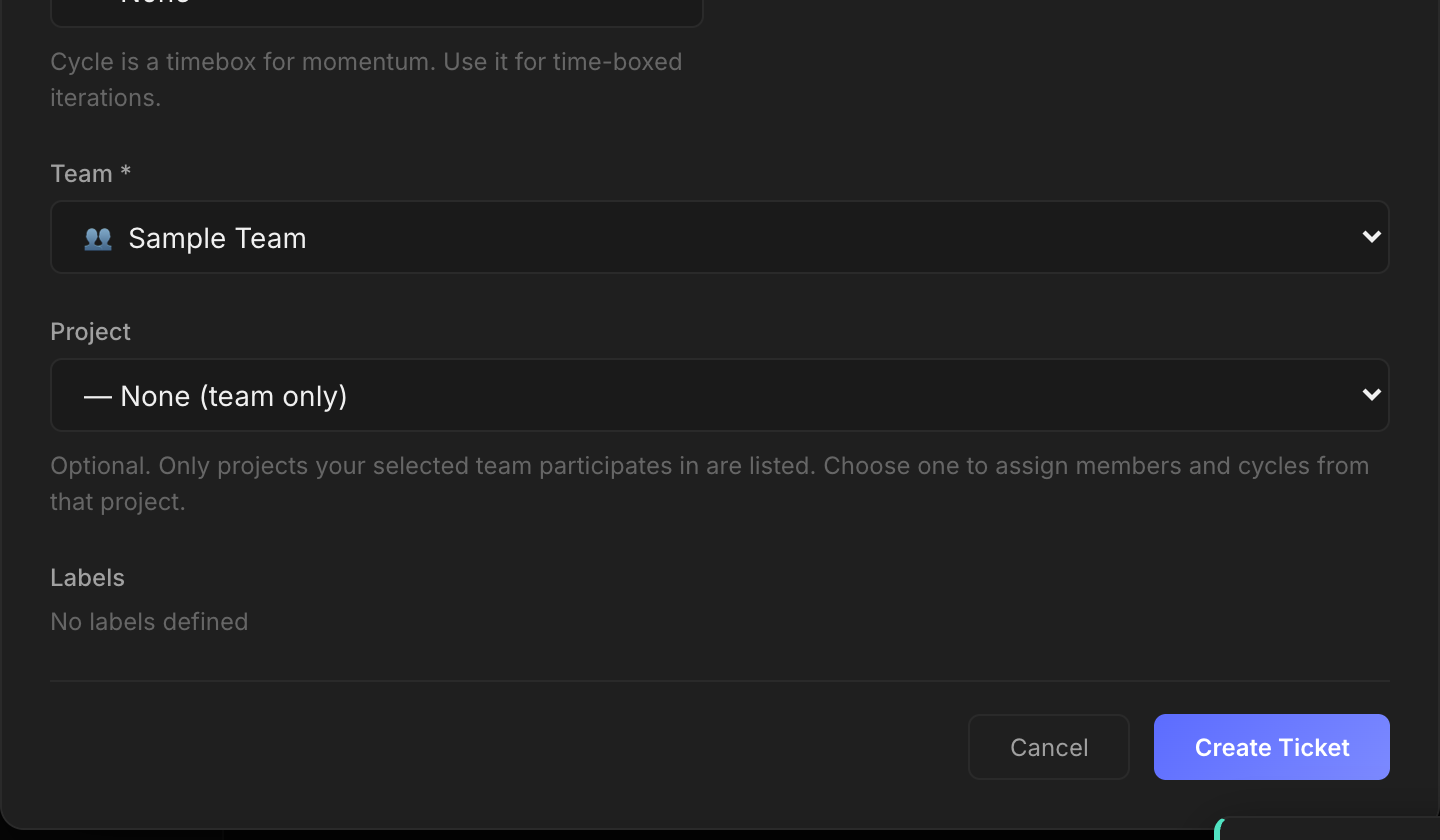
Create ticket (bottom part) — the team is already selected Open Tickets in the sidebar to see the ticket you created in the list.
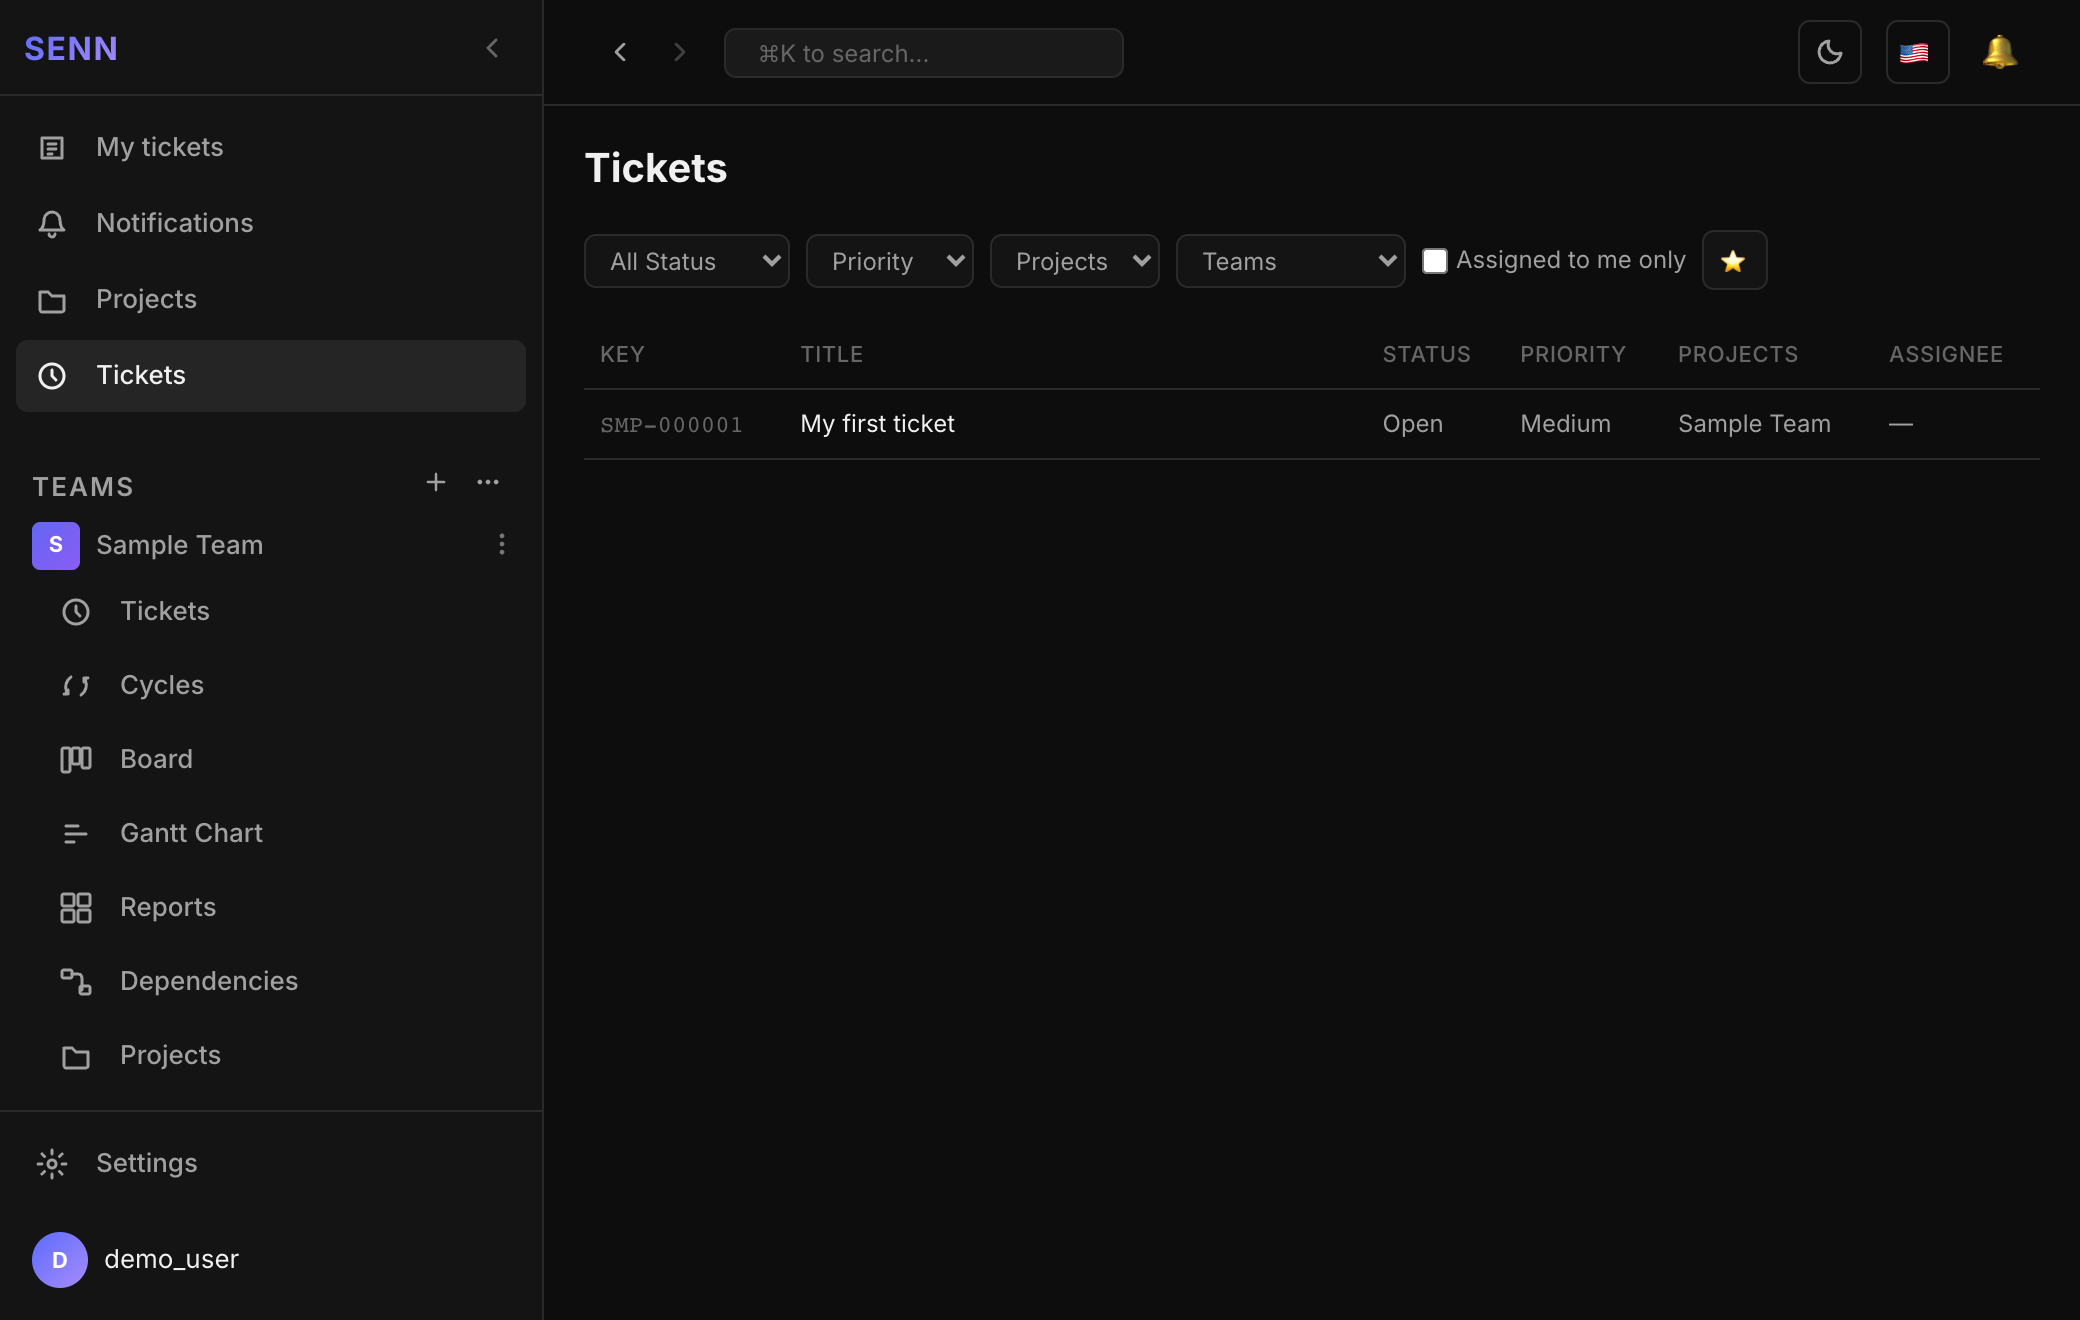
Your first ticket (SMP-000001) is created That's it — you're set up. From here, you can also use team members, projects, boards, and Gantt charts.
-
6
Log out and back in
Before relying on this for real work, let's confirm you can log out and log back in.
Click your username at the bottom left, then click Log out in the menu that appears.
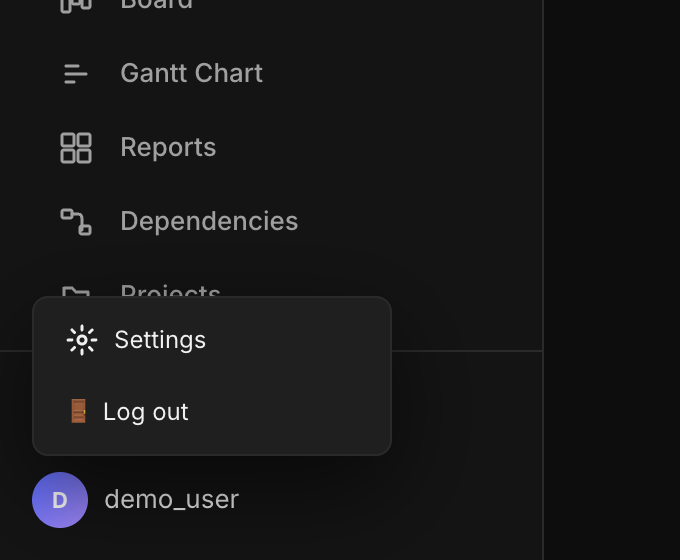
Username (bottom left) → Log out Back on the login screen, enter the username and password you signed up with, and click Log in. If the main screen appears, you're all set.
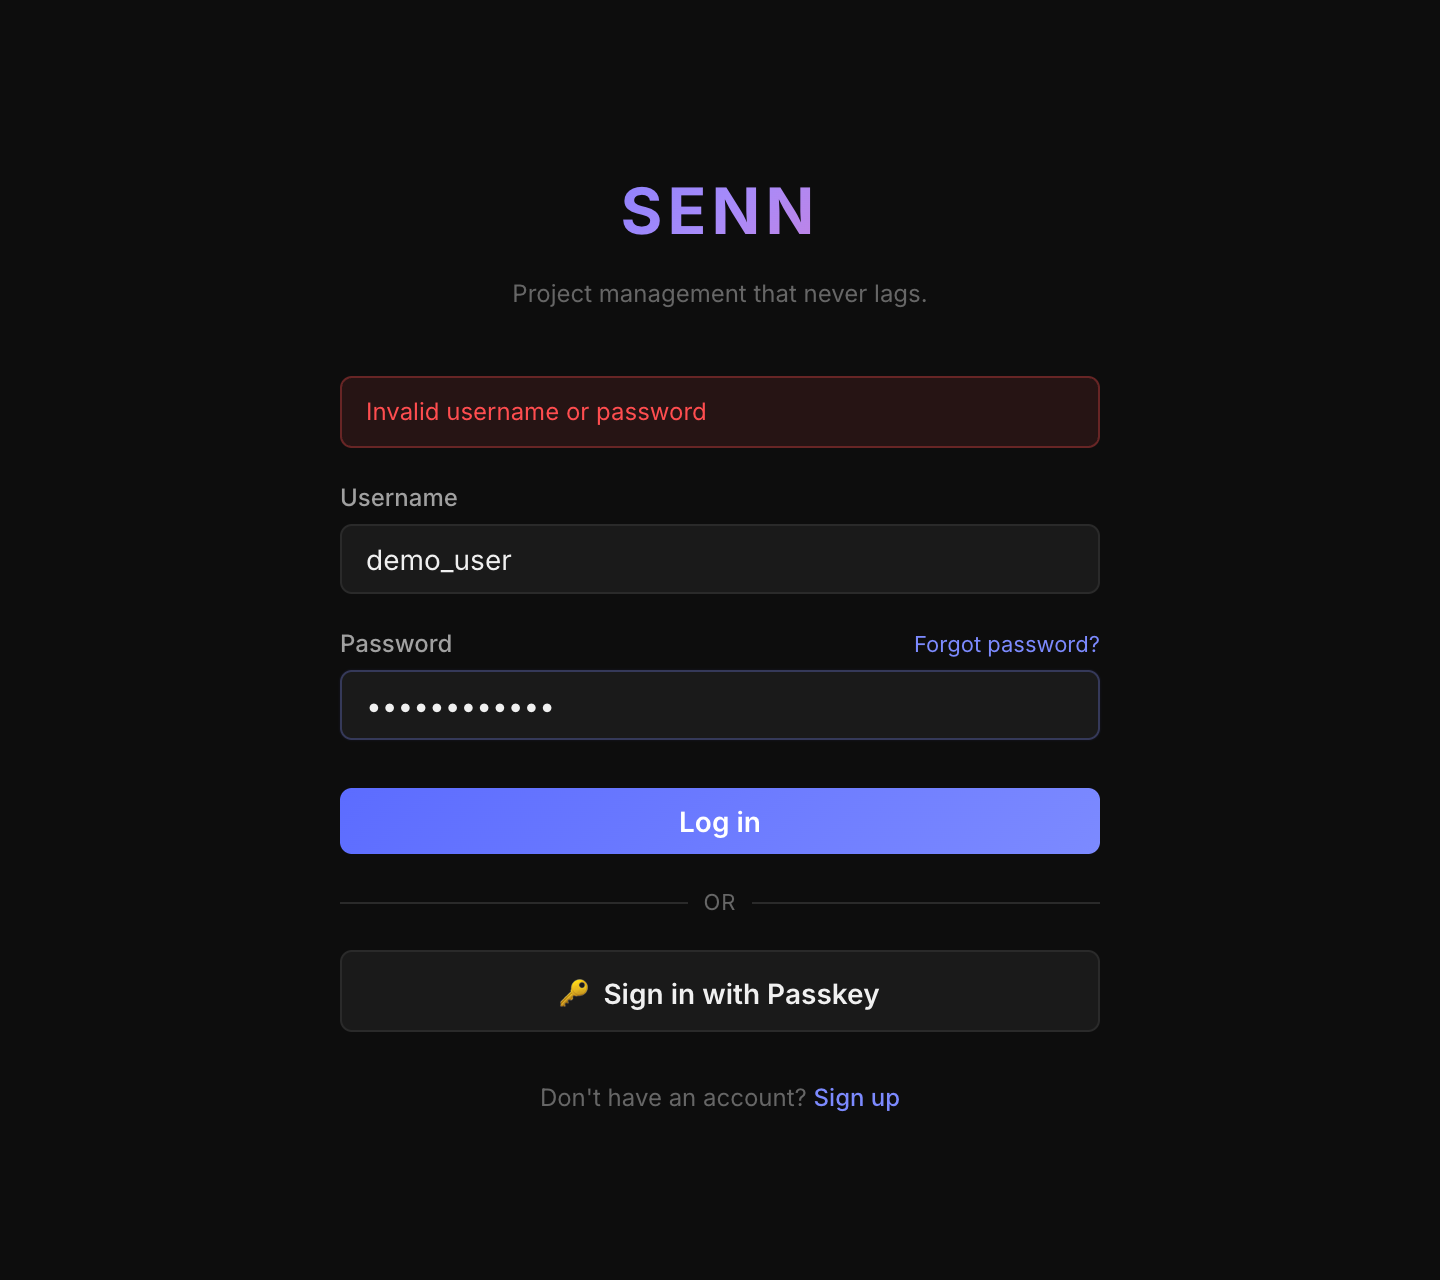
Login screen (example values) If you make a mistake, the screen tells you (the example below is an intentionally wrong password). Check upper/lower case and that you are not typing full-width characters. Note that you cannot simply sign up again with a different username: from the second person on, accounts are created by invitation.
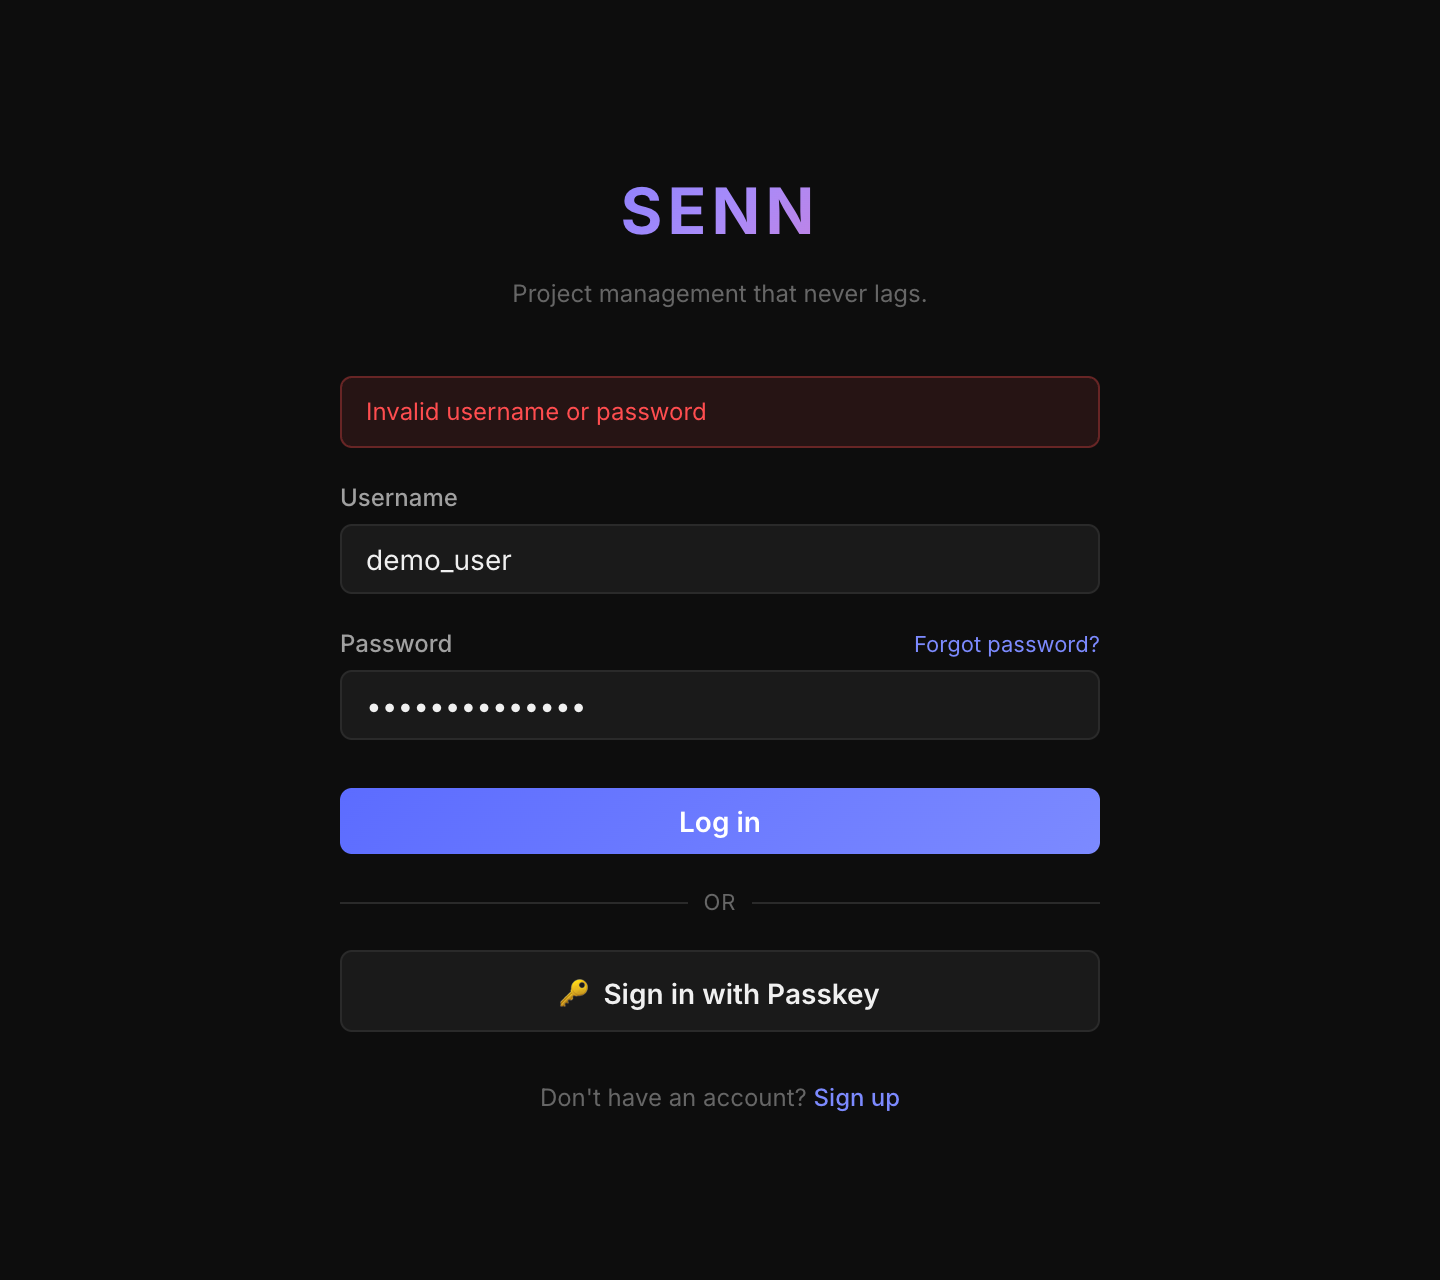
What a wrong password looks like -
7
Invite teammates
From the second person on, accounts are created by invitation. If someone else tries the sign-up screen, SENN refuses and asks them to get an invitation from a team admin.
- Open the team's Settings → Members.
- Under Invite, enter the person's email address.
- Choose Full Member. The default is Guest (can only view this team), so check this.
- Click Send invitation.
If email is not configured (the default), SENN shows a link instead (“Share this link with the person (valid once)”). Send it to the person yourself, e.g. over chat. The link works once and expires after 7 days.
The person opens the link, chooses a username and password, and clicks Create account to join the team.
Letting people sign up without an invitation
Add one of these to
.envand restart SENN.SENN_INTERNAL_EMAIL_DOMAINS=example.com— people with these email domains can sign up themselves after verifying their address by email. Configure email (EMAIL_*) first. Without it, the verification link is shown on the sign-up screen, so anyone could claim an address in that domain.SENN_REGISTRATION_MODE=open— anyone who can reach SENN can sign up. Use this only on a private network.
Stop, restart, uninstall
Stop SENN
- Log out of SENN and close the browser.
- In the terminal you started it in, press Ctrl + C once and wait for it to stop.
Pressing it twice force-kills it, which can show "Error while Killing". - To stop the containers cleanly, run this (your data is kept):
docker compose downAdding -v (as in docker compose down -v) deletes all your data. Don't add it for normal use.
Start it again
In your terminal, go to the senn folder and run this. It starts right away because the images are already on your machine.
cd senn
docker compose up
Once you see "listening on 0.0.0.0:8151" and it's waiting, open http://localhost:8151 in your browser.
Uninstall
All registered users, teams, and tickets are deleted and cannot be recovered. Make sure you don't need any of it before running this.
cd senn
docker compose down -v
cd ..
rm -rf senn
The first part removes the containers and data (volumes); the last line removes the senn folder. You can also remove the containers and volumes (senn-oss_senn_pgdata, senn-oss_senn_media) from your Docker app (Docker Desktop or OrbStack).
Troubleshooting
Startup shows JWT_SECRET_KEY is empty or DB_PASSWORD is empty
Your config file (.env) is missing a password or key. Run line 4 of Step 1 (the sed line), then run docker compose up again.
The browser says it can't connect to the server
It may still be starting, or it stopped partway. Check the status with:
docker compose psIf db, backend, and web are all Up, wait a few dozen seconds after startup and reload the page. Otherwise, check the error with:
docker compose logs backendIt says the port is already in use ("port is already allocated")
Something else is using port 8151. Quit that app, then start SENN again.
It says "docker: command not found" or can't connect to Docker
Docker (Docker Desktop or OrbStack) isn't installed, or isn't running. Start it, wait until it shows "Running" in the menu bar, then try again.
I want to start completely over
This deletes all registered data and starts fresh. This cannot be undone.
docker compose down -v
docker compose up
If none of this helps, please let us know via GitHub Issues.